Map Loan Roles to Persona Templates to Automate Mortgage CRM Permissions
Adopt role-based or persona-based templates that enforce least privilege, then layer them: org-wide defaults, role hierarchy, permission sets, and field or record restrictions. Automate provisioning at hire and revocation the moment someone changes roles or leaves. Turn on audit logging from day one. That combination is the difference between a mortgage CRM that protects borrower data and one that quietly leaks it.
TL;DR:
- Using persona-based templates and layered permission controls reduces the risk of data leaks and improves auditability for mortgage CRMs.
- Permission settings should follow a strict sequence, starting with mapping personas, setting organization-wide defaults to private, then adding role hierarchies and permission sets.
- Monitoring should include detailed logs of logins, exports, record access, API calls, permission changes, and admin actions, with retention for audit cycles.
- Vendor and LOS access must be time-limited, scoped, and documented, with credentials regularly rotated and automatic revocation upon task completion.
- Implementing automated onboarding and offboarding, as with Loan Officer AI, minimizes common permission drift and streamlines access control management.
Table of Contents
- What Role Models Work Best for Mortgage CRM Permissions?
- How Do You Configure Mortgage CRM Permission Settings Step by Step?
- What Should You Log and Monitor for Compliance?
- How Do You Safely Manage Vendor and LOS Access?
- Why We Build Mortgage CRM Permissions This Way
- Get Mortgage CRM Permissions Right From the Start
- Where to Go Deeper on Mortgage CRM Access Control
- Sources
What Role Models Work Best for Mortgage CRM Permissions?
Two models dominate mortgage CRM permission design: role-based access control (RBAC) and persona-based templates. RBAC assigns permissions to a job function, then attaches users to that function. Persona-based systems go a step further, bundling screen access, field visibility, folder permissions, and report access into a single named template tied to how someone actually works a loan file. Encompass’s persona model is the clearest industry example. Its Personas govern which loan screens, fields, folders, and admin actions a user can touch, and admins can build custom Personas when the defaults don’t fit a branch’s workflow.
RBAC tends to fit larger, multi-branch shops where dozens of job titles need consistent, auditable rules. Persona templates work better for firms that want fewer, richer roles mapped tightly to loan-file responsibilities. Most mortgage teams end up running a hybrid: personas for internal staff, scoped RBAC for third-party access like broker or TPO portals.
A working persona set for a typical mortgage CRM looks like this:
- Loan officer: full read/write on their own pipeline, no cross-branch visibility, no admin functions.
- Loan processor: edit access on documents and checklist items, restricted export rights.
- Underwriter: read access across assigned files, including sensitive fields like SSN, but no marketing or pipeline-management tools.
- Branch manager: read access across their branch’s pipeline, reporting rights, no system-wide admin access.
- Broker/TPO user: scoped to their submitted loans only, no visibility into the lender’s internal pipeline.
Rather than giving every loan officer a single access level, use teams and sites to cap visibility to their branch or channel. Maxwell’s admin documentation shows this pattern directly: access levels control pipeline view, application tabs, and user-management rights, and admins can reassign a user’s level without rebuilding their account from scratch.
How Do You Configure Mortgage CRM Permission Settings Step by Step?
Configuration order matters. Get the sequence wrong and you end up patching holes instead of preventing them.
- Map personas to capabilities first. Before touching a settings panel, list every persona and whether they need view, edit, or export rights on each object (loans, documents, credit pulls, reports).
- Set Organization-Wide Defaults to Private on any object holding non-public personal information (NPI) — Social Security numbers, credit reports, income documentation. Private OWD forces every other access grant to be explicit rather than assumed.
- Build the role hierarchy above that private baseline, so branch managers and above inherit visibility their direct reports need shared upward, without opening lateral access between peer loan officers.
- Create permission sets for discrete functions, not broad job categories. Salesforce’s documented workflow for mortgage permission sets shows this well: a loan officer permission set grants access to mortgage and document-checklist features specifically, rather than blanket object access. Group related permission sets into Permission Set Groups, so “export reports” and “credit data access” become reusable, assignable units rather than one-off toggles.
- Apply field-level security last, after object and record rules are set. This is where you block SSN visibility for everyone except underwriters and compliance staff, even though those same users already have broader record access.
- Automate access changes tied to loan status, using record-triggered flows to grant or revoke access at lifecycle milestones. For the rare case that needs temporary, non-standard access, Apex Managed Sharing gives you a programmatic, auditable way to grant it without permanently altering a role.
A concrete example: build a permission set that lets processors upload documents but blocks export, then pair it with a field-level rule hiding SSN from that same processor profile. Underwriters get the inverse. Combining declarative permission sets with narrow field-level blocks like this closes the two most common gaps in mortgage CRM permission settings: over-broad export rights and unrestricted SSN visibility.
Pro Tip:Store your persona definitions somewhere outside the CRM itself, like a version-controlled document, along with the justification for each export or credit-data grant. When an examiner or internal auditor asks why a given role has a given right, you want an answer on file, not a guess.
What Should You Log and Monitor for Compliance?
Mortgage CRMs sit under GLBA, CFPB oversight, and HMDA reporting requirements, which makes audit logging a compliance control, not a nice-to-have feature. Security guidance for mortgage companies recommends capturing a specific set of events, not just generic login records.
Log at minimum:
- Login attempts, including failed logins and unusual login locations or times.
- Report and data exports, tagged to the user and the record set involved.
- Record access on NPI-containing objects, especially bulk views.
- API calls from integrated systems, since these bypass the normal UI-based access checks.
- Permission changes themselves, including who granted what and when.
- Admin-level actions, like role reassignments or OWD changes.
Retain export logs and permission-change trails long enough to support a full audit cycle, and review privileged accounts on a monthly cadence rather than waiting for an annual audit to surface a stale admin grant. Field-level encryption, bring-your-own-key options, and role-based masking add another layer specifically for NPI fields, and event monitoring tools can flag a bulk export pattern that looks more like data exfiltration than normal work.
Segregation of duties matters just as much as logging. When a loan moves to funded status, the originating loan officer’s write access should drop automatically rather than linger indefinitely. That single automated step closes one of the more common gaps examiners flag during CFPB reviews.
How Do You Safely Manage Vendor and LOS Access?
Loan origination system integrations and vendor access (title agents, appraisers, outside processors) are where permission drift happens fastest, mostly because temporary access rarely gets revoked on schedule.
A few patterns keep this controlled:
- Use scoped API service accounts for LOS integrations, never a shared admin login, and rotate credentials on a regular schedule.
- Grant vendors row-level, time-limited access rather than standing record access, and log the business justification for each grant. Programmatic RowCause-based sharing is built for exactly this: it stamps a reason on the grant and lets automation remove it when the task closes.
- Document the approval chain for every vendor access request, and automate the revocation trigger to the task’s completion, not to someone remembering to clean it up later.
- Never issue a shared login for support or vendor staff. Some vendor admin consoles support a read-only view for the user-management tab itself, which lets help desk staff see account status without the ability to elevate anyone’s privileges.
Pro Tip:If a title agent needs access for three days to close a file, grant access that expires in three days. Standing vendor access that “we’ll get around to revoking” is how most permission audits turn up dozens of accounts nobody remembers creating.
Why We Build Mortgage CRM Permissions This Way
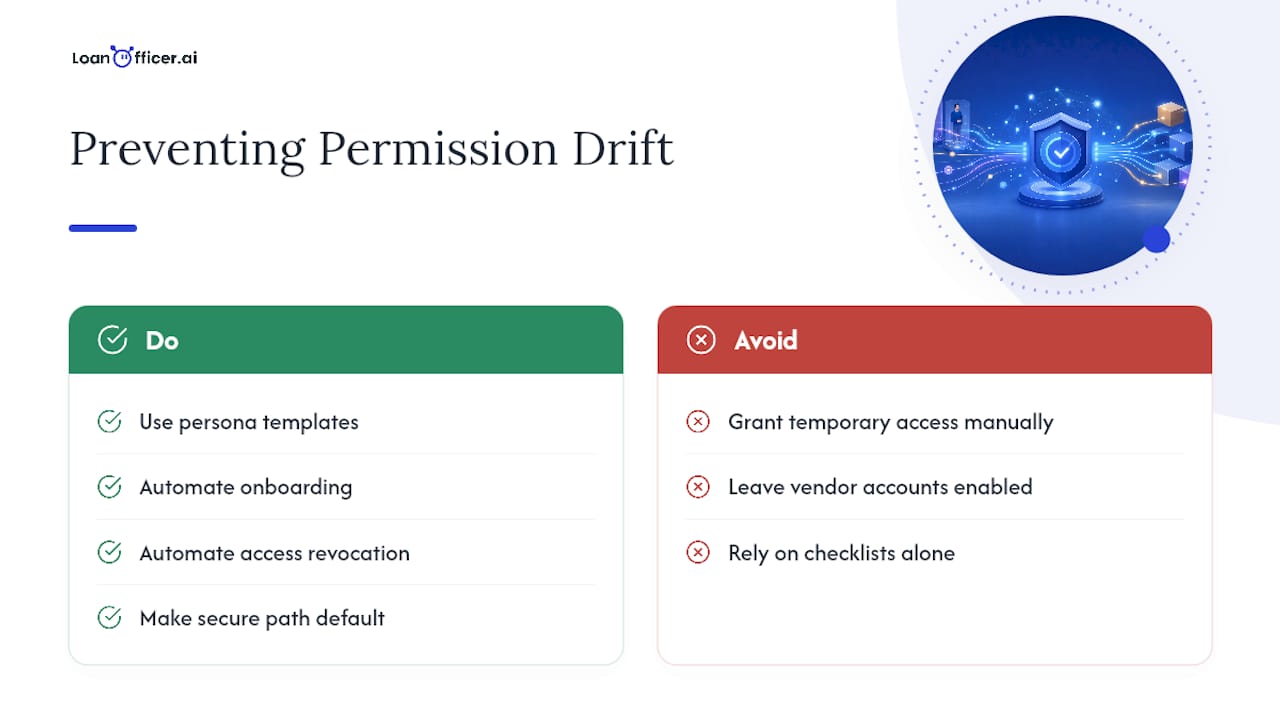
Most permission drift isn’t malicious. It’s the accumulation of small shortcuts: a loan officer given underwriter access “just for this one file,” a vendor account nobody remembered to disable. Persona templates and automated provisioning close that gap by making the secure path the default one, not an extra step someone has to remember.
Loan Officer AI builds its access model around that principle, with automated onboarding and revocation baked into the platform rather than left to a checklist. The firms getting the most value out of this approach aren’t the ones with the most complex rules. They’re the ones who automated the two steps humans forget: turning access on correctly, and turning it off on time.
— Jared Hart
Get Mortgage CRM Permissions Right From the Start
Building the permission model described above from scratch, inside a generic CRM, takes weeks of configuration and ongoing maintenance most mortgage teams don’t have time for. Loan Officer AI ships with persona templates already mapped to loan officer, processor, underwriter, and branch manager roles, so you’re assigning access instead of building it from zero.
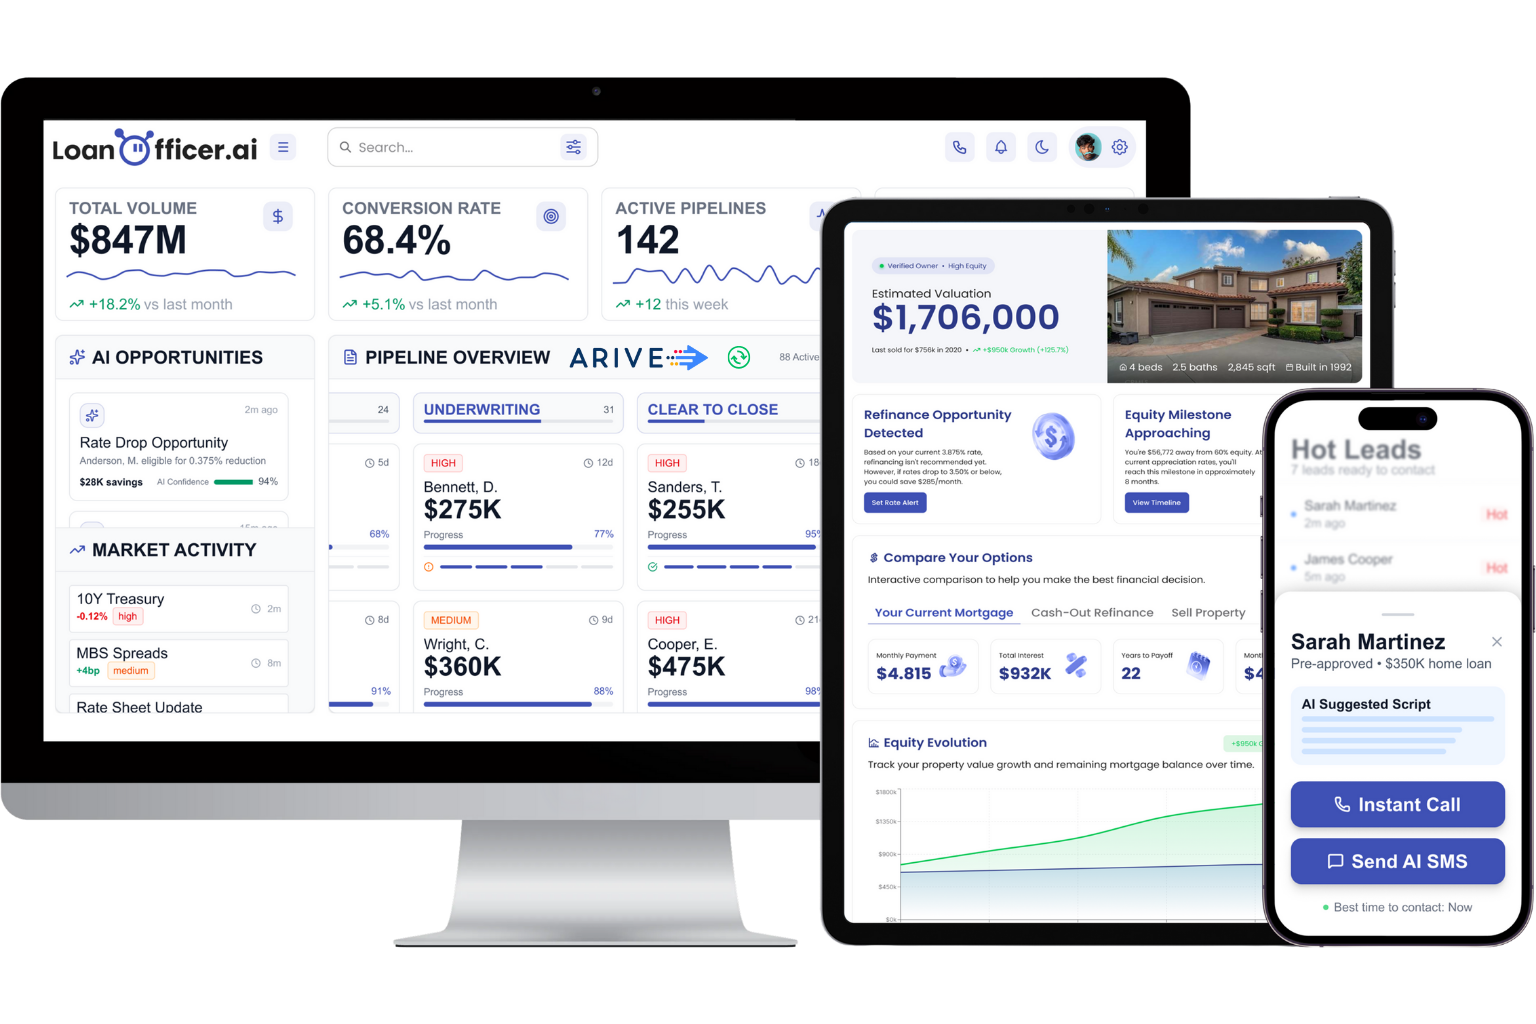
The platform handles the operational side too: automated revocation when a loan moves to funded status, audit-ready export logs, and LOS integrations that run through scoped service accounts rather than shared admin logins. Branch-level scoping is built in for firms managing multiple locations. If you’re rolling off a legacy CRM, the migration playbook walks through moving your existing roles and permissions over without leaving gaps during the switch. Request a demo to see how your team’s specific role structure maps onto the platform before you commit to a rollout date.
Where to Go Deeper on Mortgage CRM Access Control
For hands-on configuration detail, review Salesforce’s loan officer permission set guide and Encompass’s persona documentation. Keep screenshots of your own org’s permission settings for every audit cycle.
Sources
- Create and Assign a Loan Officer Permission Set
- Access level management — Maxwell docs
- Security Guide for Mortgage Companies - Cloud Creations